The right Ryobi tools make all the difference
I received a 40V-X EXPAND-IT STRING TRIMMER and Edger Attachment from Ryobi and a trip to Ryobi headquarters in exchange for writing a review.
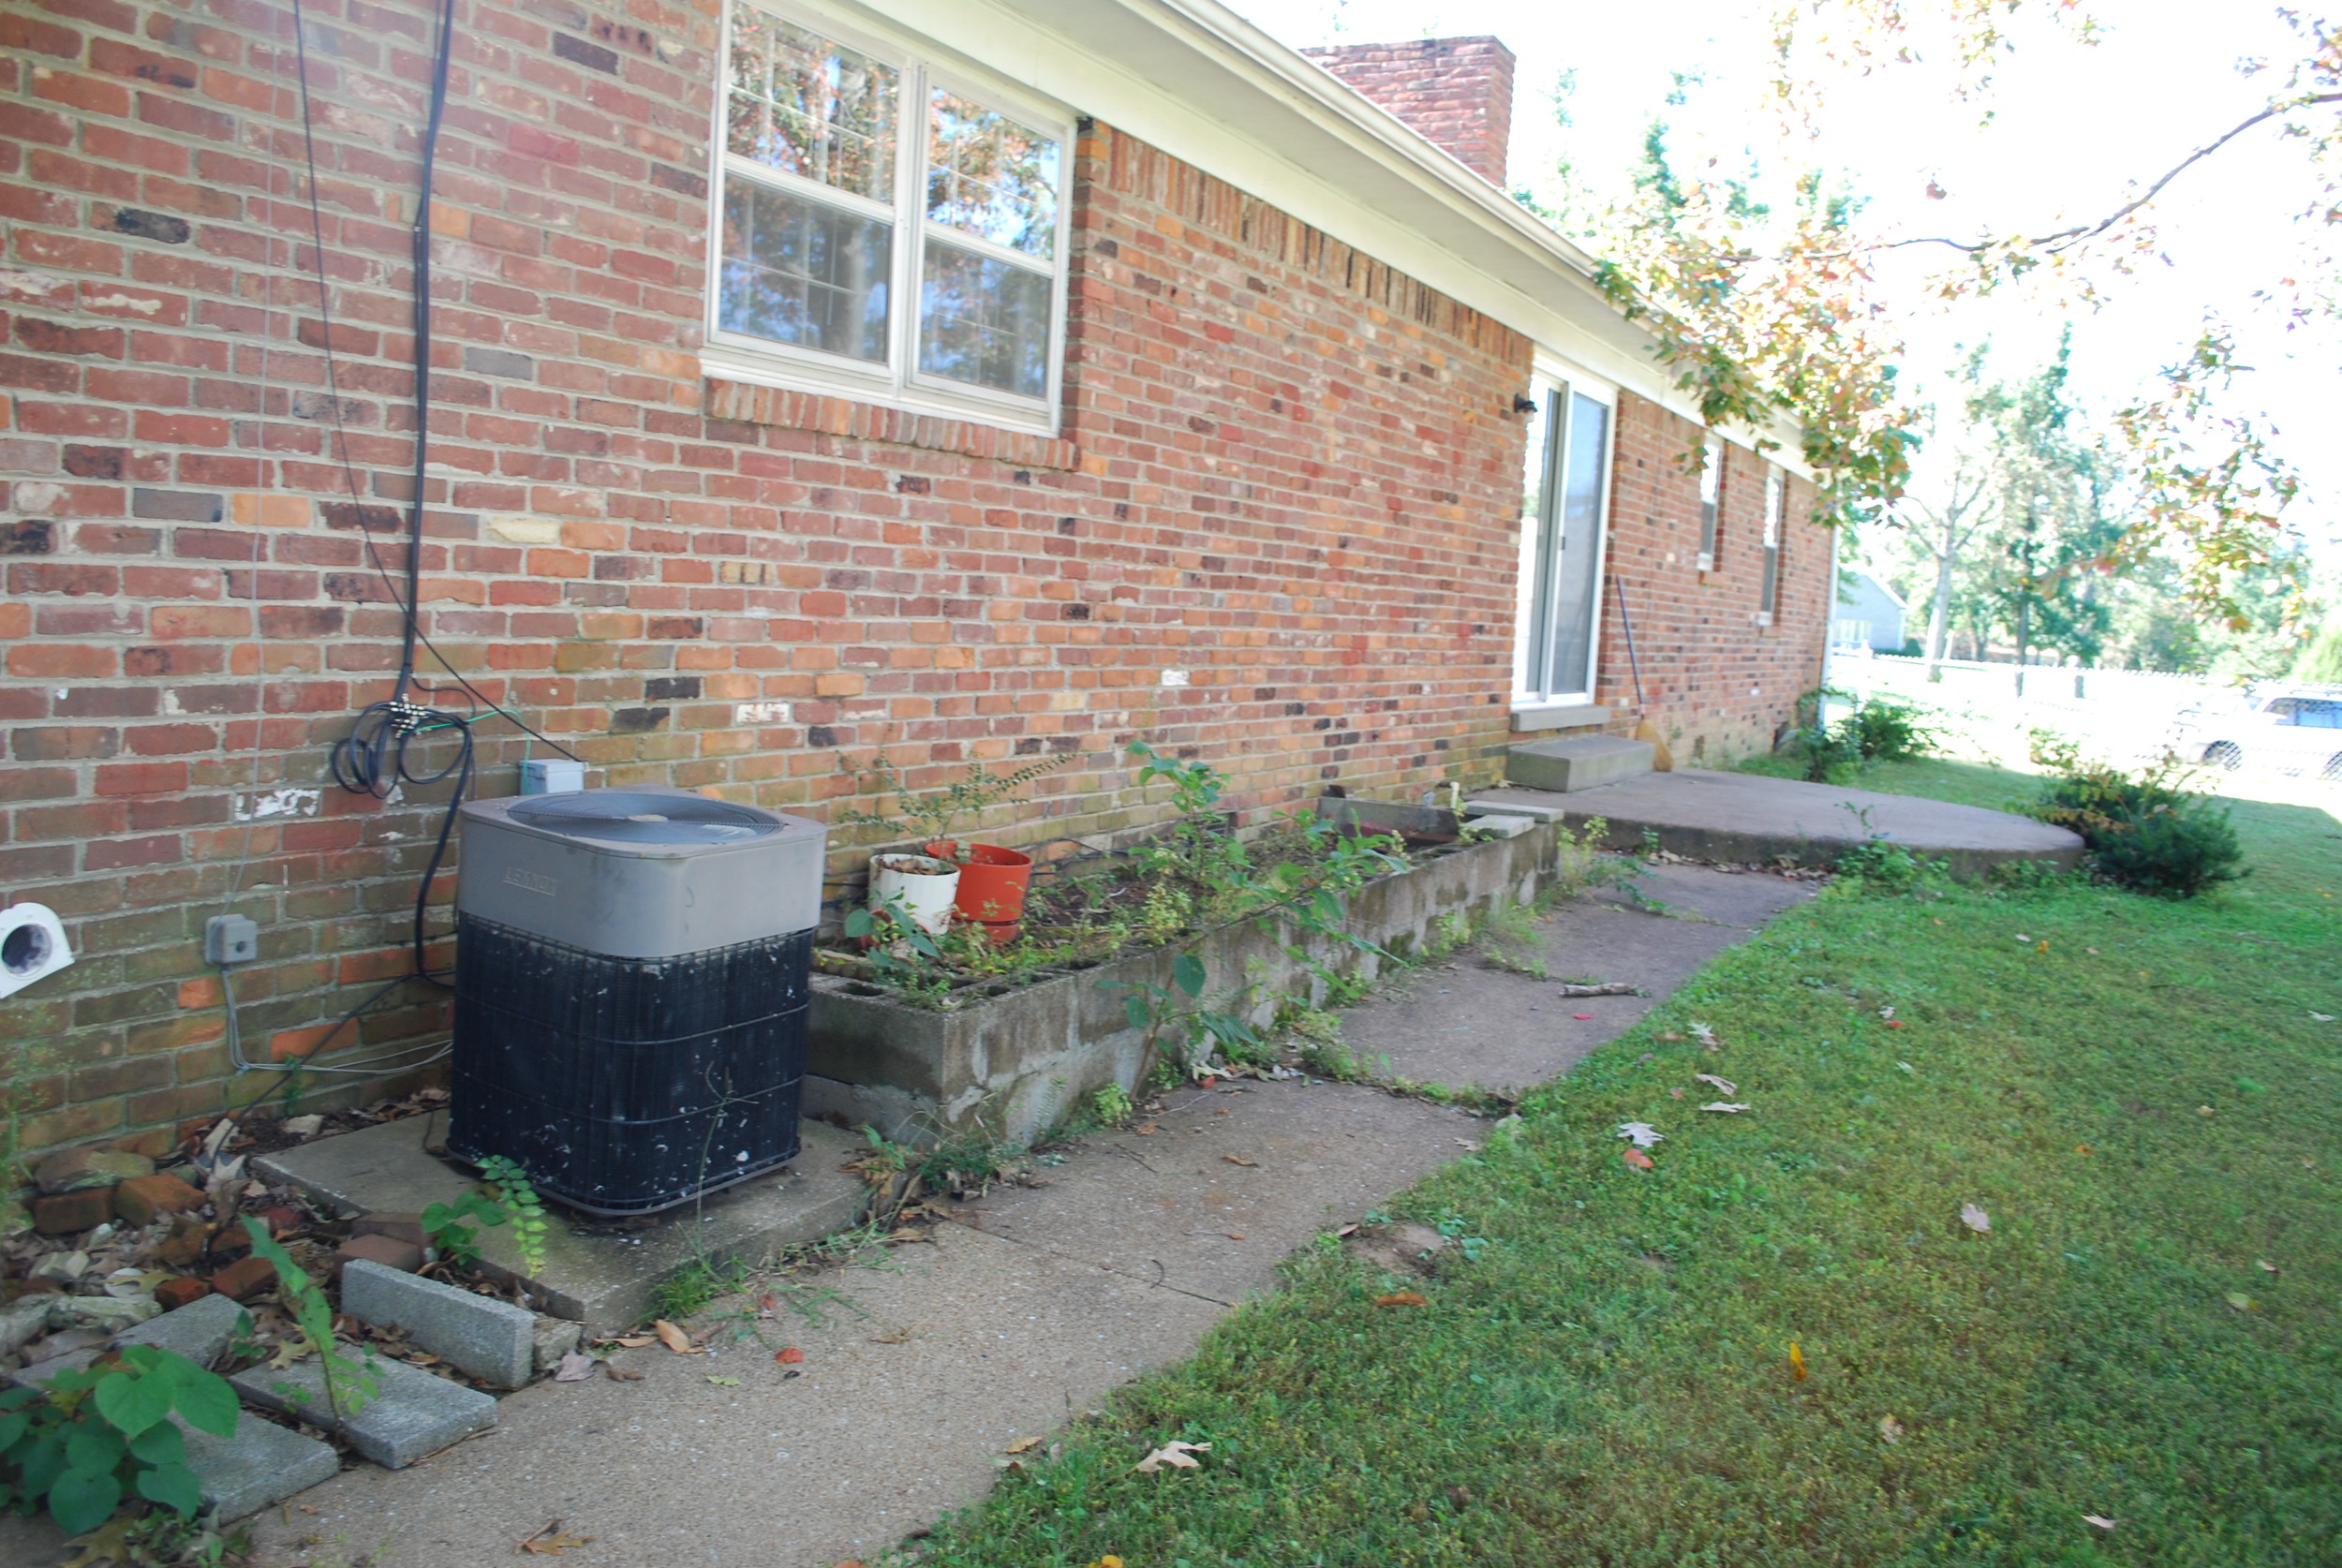
We tackled our backyard with the help of a generous family friends but - as you can see from above - our front yard was still a hot mess. Sure, there were no concrete planters but there wasn't much else either. We had two giant yews and two small but extremely sharp holly bushes planted directly in front of the water spigot and electric outlets (convenient!)

I received a 40V-X EXPAND-IT STRING TRIMMER and Edger Attachment from Ryobi and a trip to Ryobi headquarters in exchange for writing a review.
We tackled our backyard with the help of generous family friends but - as you can see from above - our front yard was still a hot mess. Sure, there were no concrete planters but there wasn't much else either. We had two giant yews and two small but extremely sharp holly bushes planted directly in front of the water spigot and electric outlets (convenient!)
So, we called in Dava Hayden, a local horticulturalist, and the awesome team at Stone Haven Nursery to help us give the front yard a much needed facelift. Dava immediately suggested some easy upgrades we could tackle ourselves like painting our shutters. Then, we ripped out the giant yews and holly bushes and planted a beautiful array of boxwoods and flowering plants in actual beds!

Add in some refreshed law furniture and accessories from our local Trees n Trends and you've got some serious curb appeal!

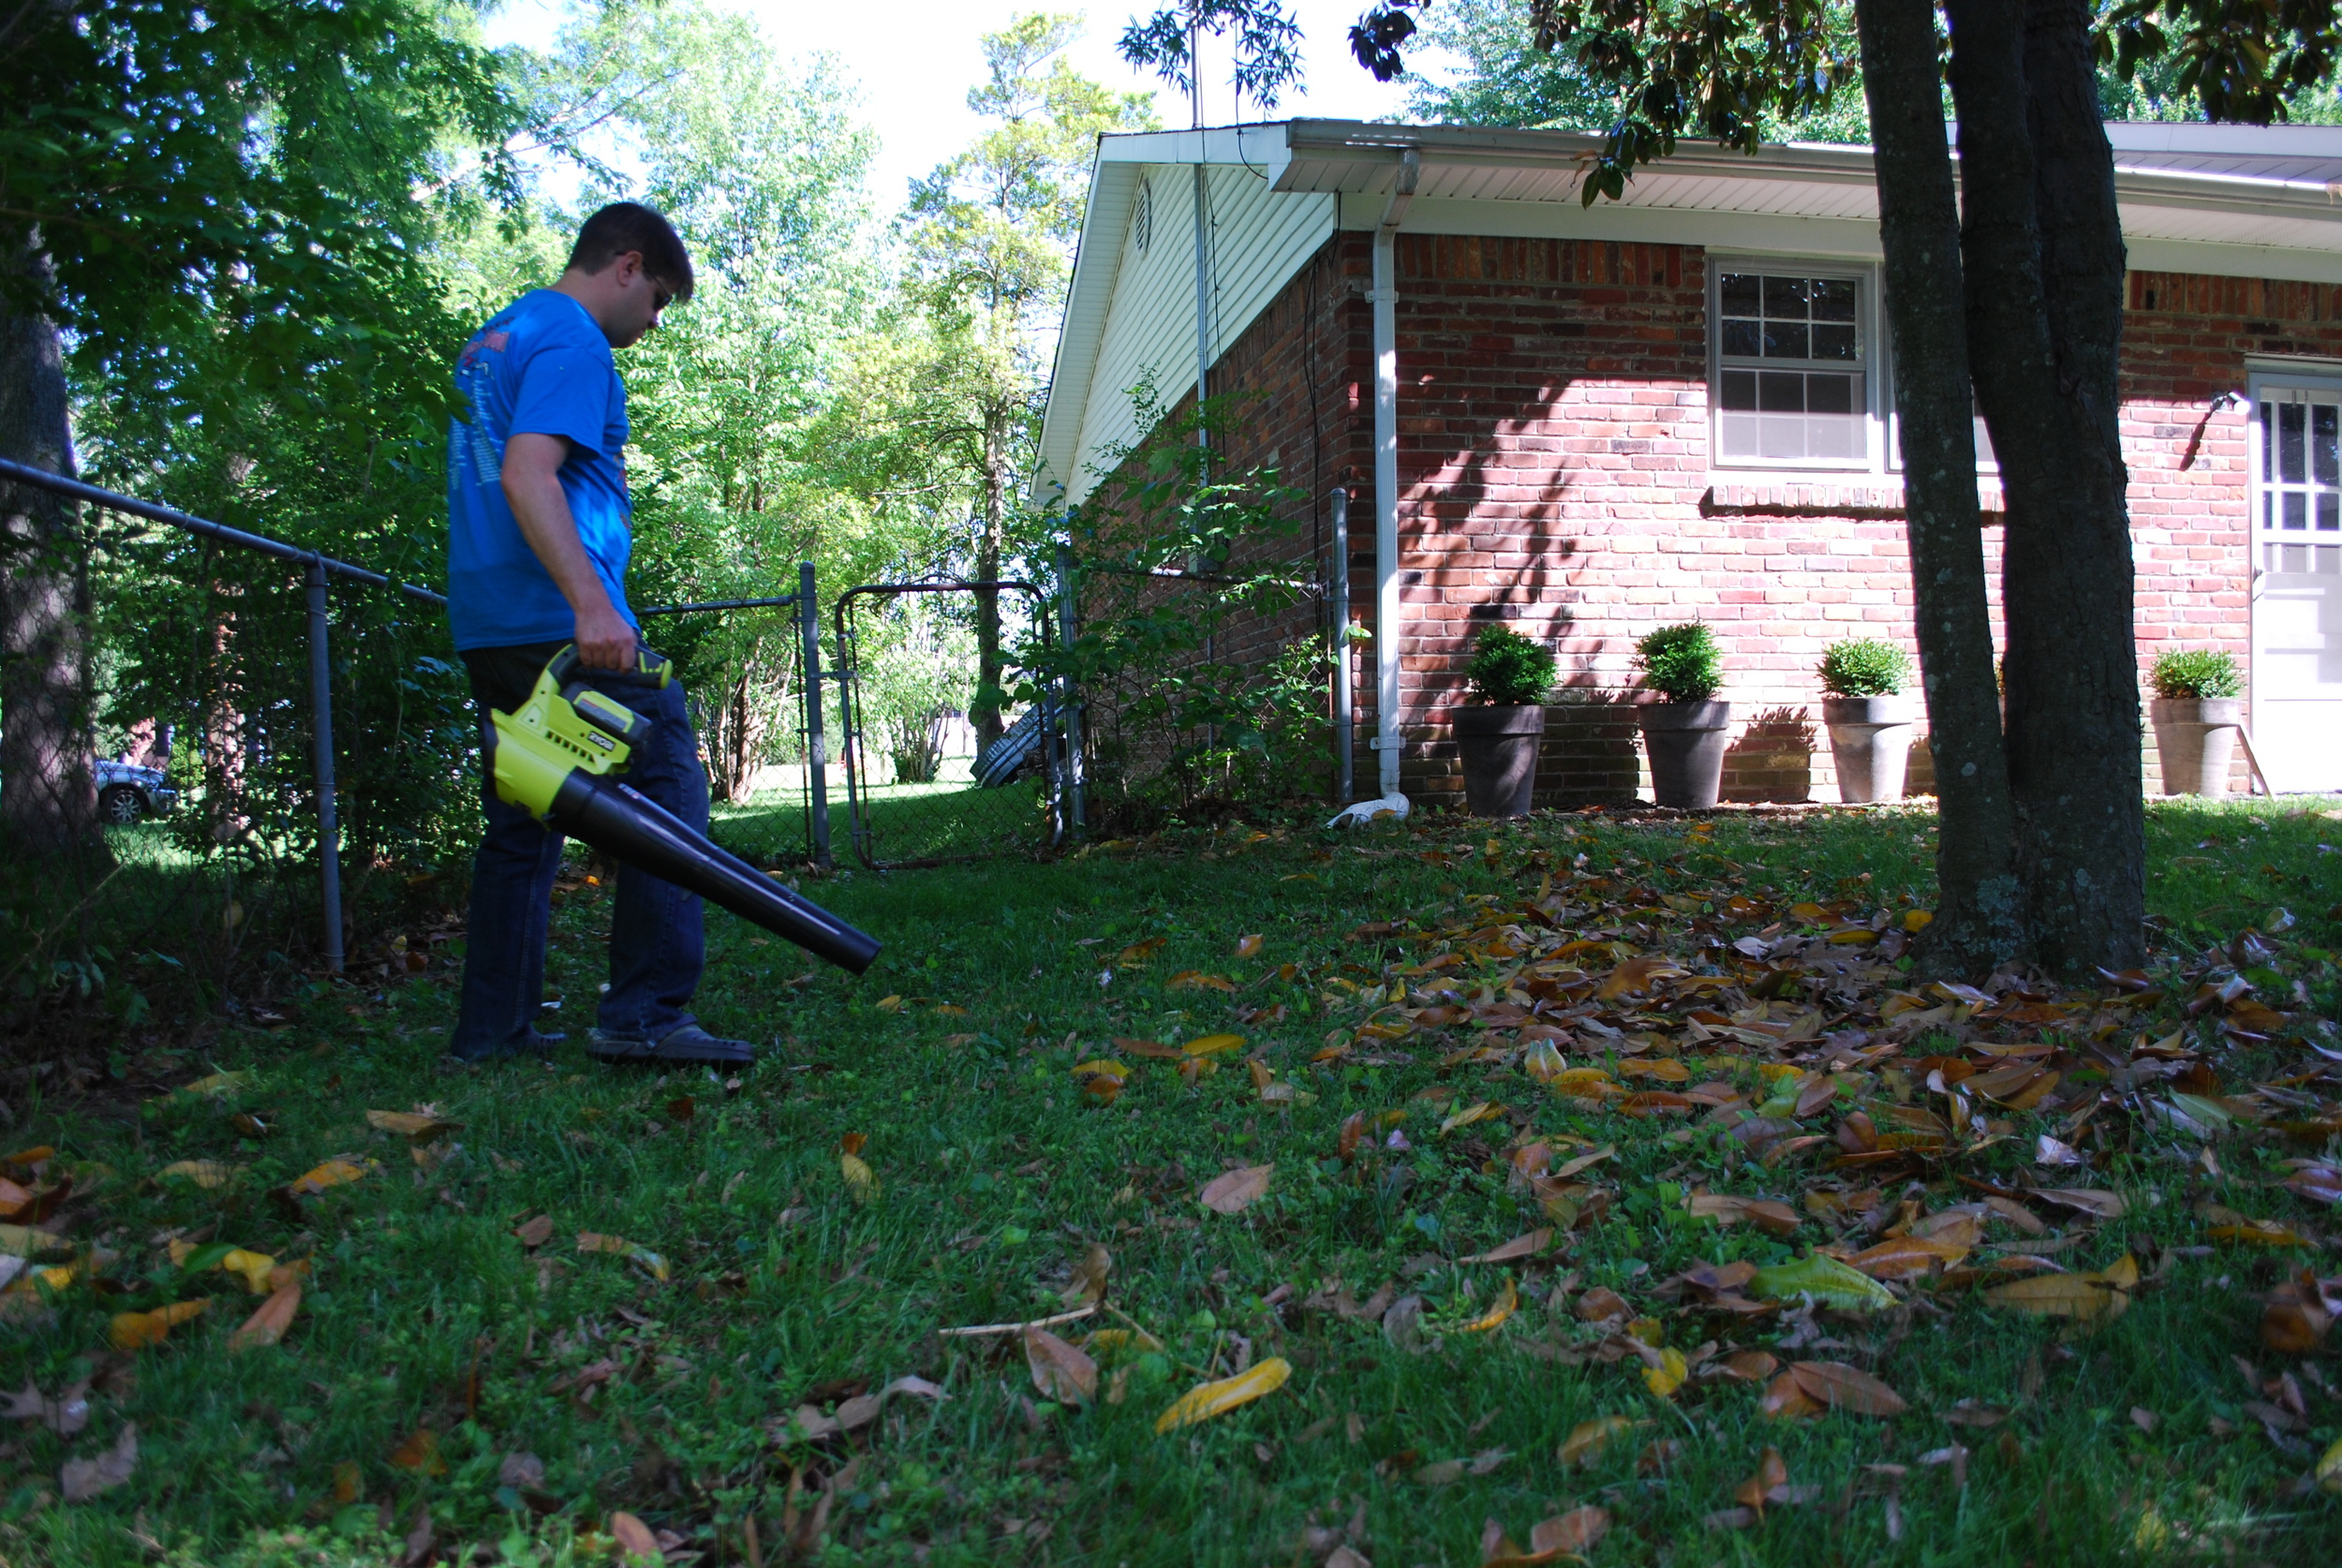
Of course, all this beauty doesn't maintain itself, which is where Ryobi comes in. There wasn't much maintenance to the two giant yews. We mowed. That was it. Now, we had mulch and beds and walkways that needed weeding and edging!

The 40V string trimmer is super-easy to use and really does feel like gas power. Plus, the edger attachment makes maintaining our beds a breeze. I don't know why it took me so long to realize that the right tool really does make all the difference. If it's too difficult to use or requires lots of plugging in, gassing up, or recharging I'm just not going to do it.
That's why I love the Ryobi system. I'm never running around looking for a battery or having to get ready to use the tool. I just pick it up and go.
Obviously, we also use the 40V blower, which my landscape architect friend called the most essential tool for yard maintenance.
I only bring that up because the awesome team at Ryobi is giving one 40V blower away to a lucky bluegrass redhead reader!
Transforming a nursery to big boy room FOR TWO!
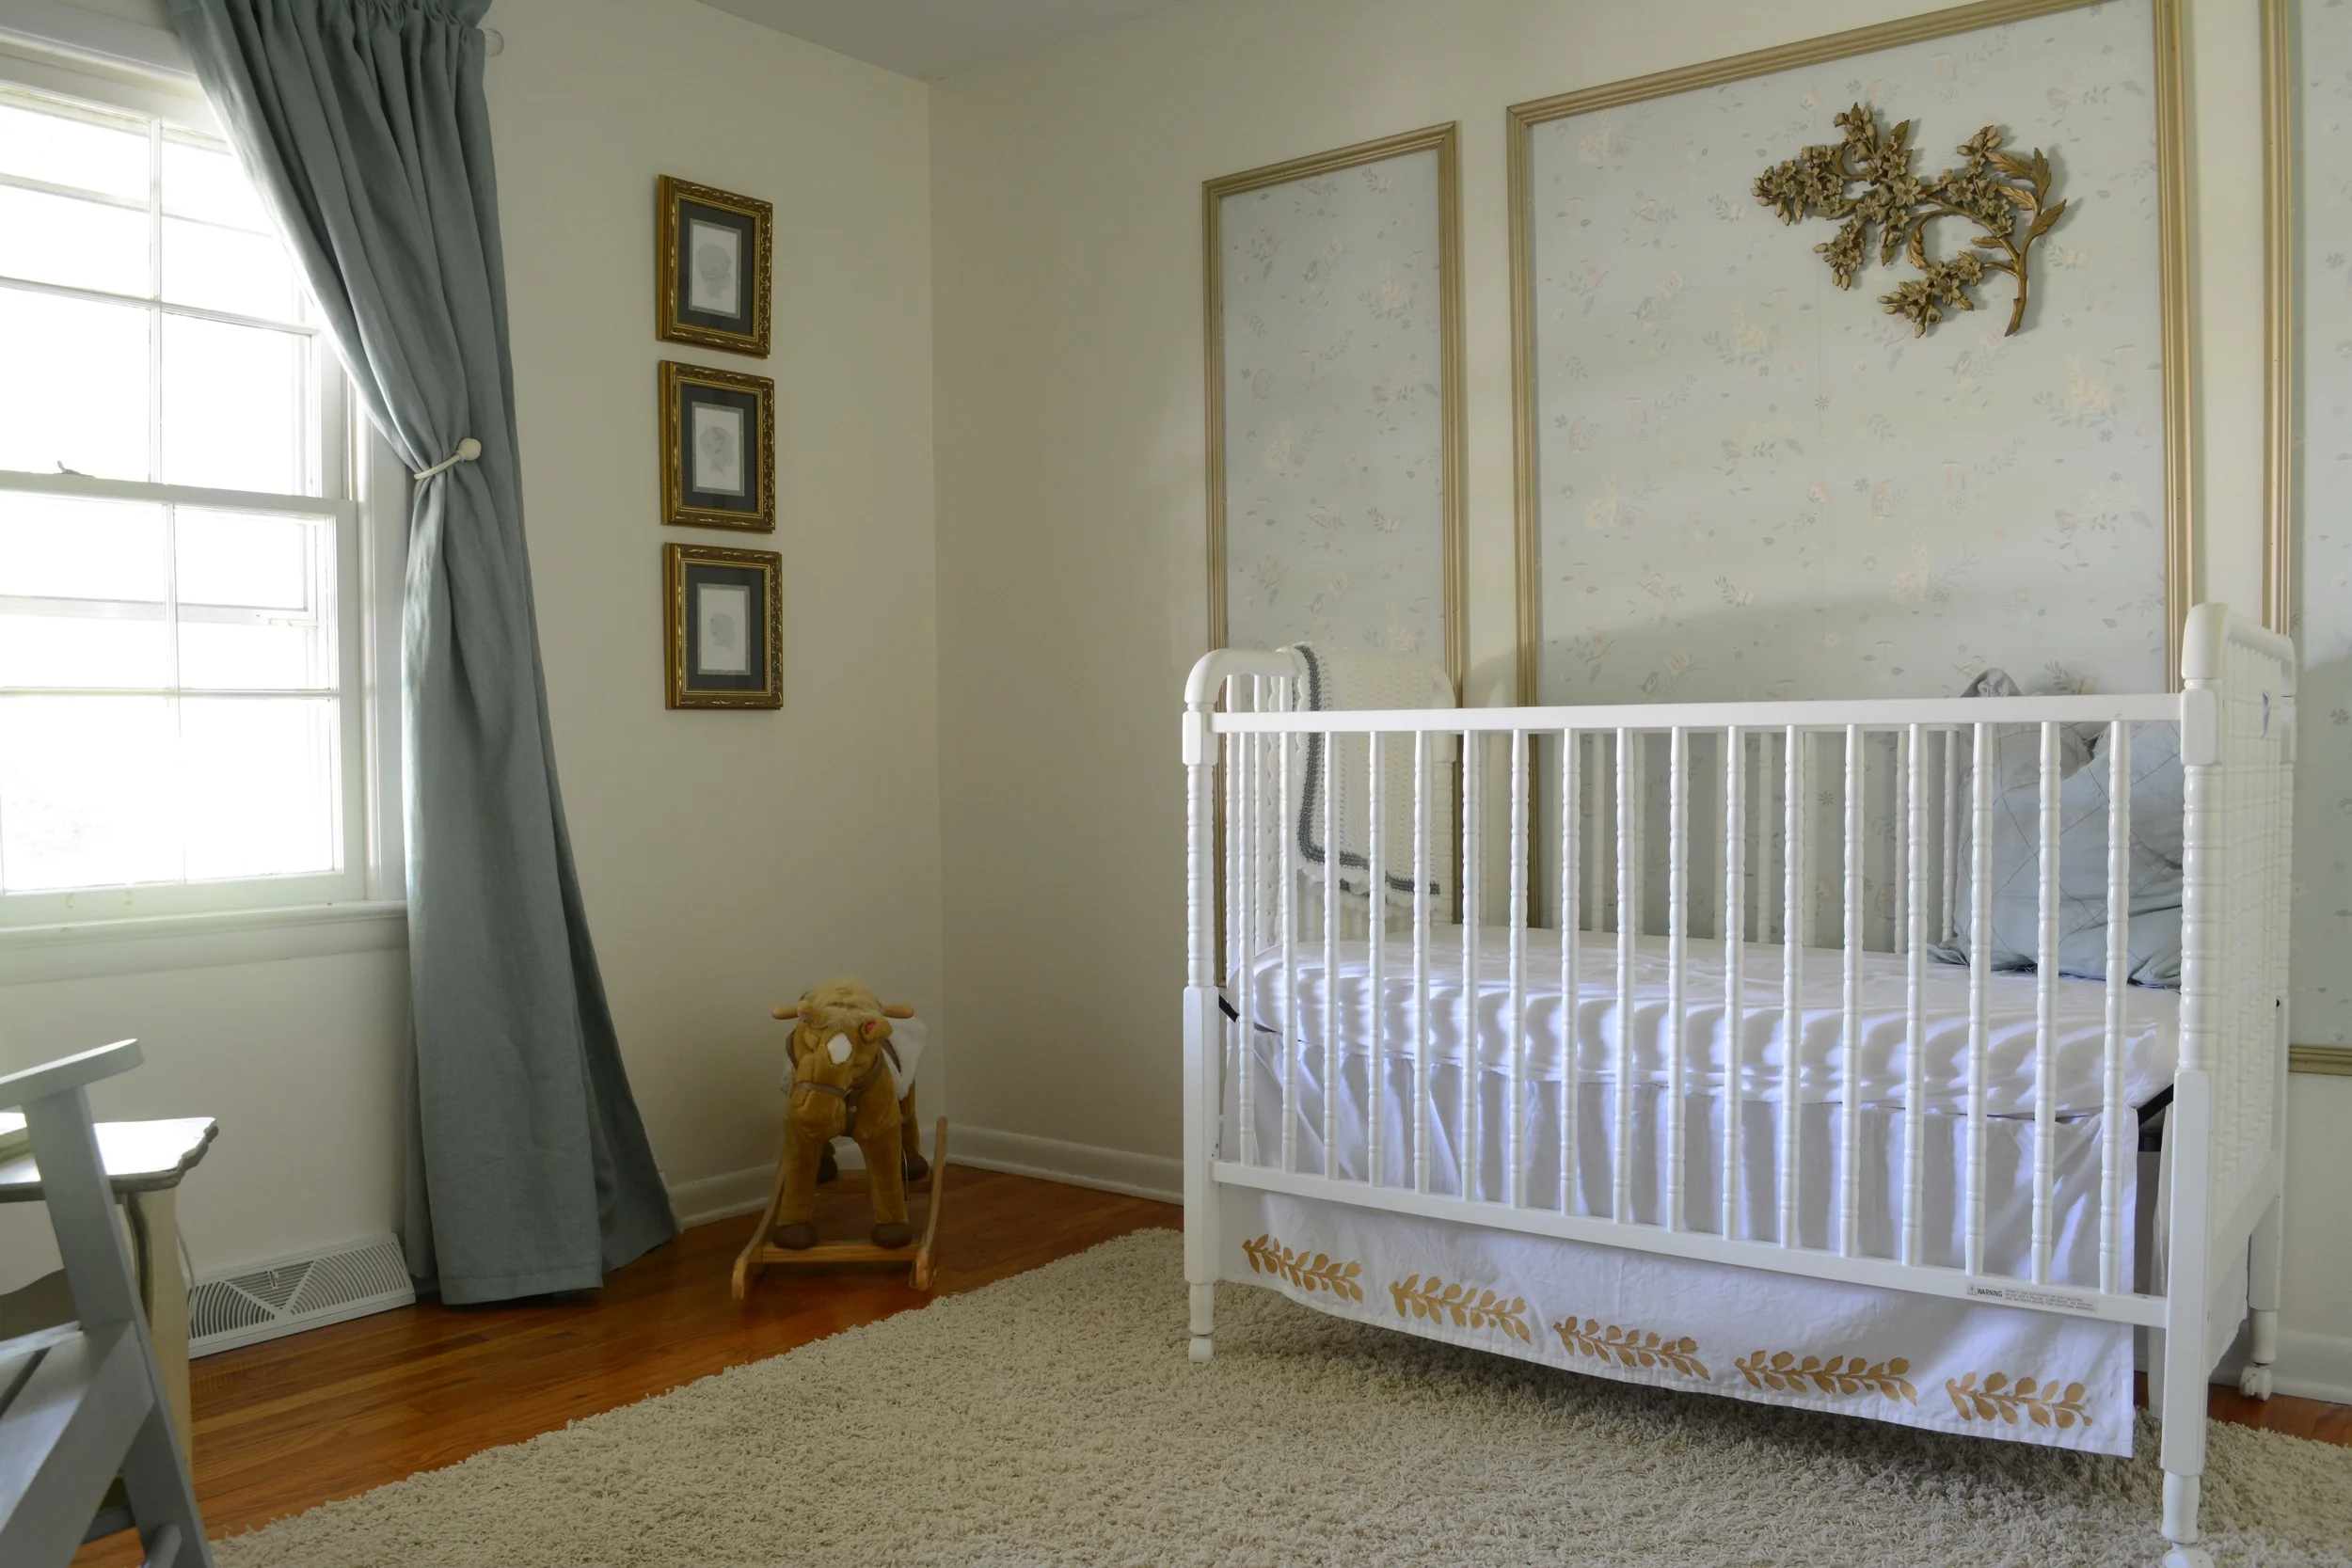
Ahhhh remember baby Amos's nursery? I loved that room. It was my favorite room in the house. Alas, the problem with falling in love with a nursery is babies grow up and need big kid rooms. In this case, last year we decided to move both boys into the same room so it needed to be a big kid room for TWO.

Ahhhh remember baby Amos's nursery? I loved that room. It was my favorite room in the house. Alas, the problem with falling in love with a nursery is babies grow up and need big kid rooms. In this case, last year we decided to move both boys into the same room so it needed to be a big kid room for TWO.
I loved the grey (and am too lazy to repaint) so I knew that was staying. I knew we'd need a bunk bed, which Papa Ron lovingly agreed to build. (No, you may not have him.) We moved the toy storage and train table in and added a dresser repurposed from the living room. Both the bed and dresser were painted with Annie Sloan Chalk Paint from Flower + Furbish.
The last piece was removing the trees and adding color in a new and fun way. I love the look of bright bold colors on a calm background and G (Nicholas's mom) made the most awesome modern cool kids quilts for the boys bed. Inspired by those colors, I bought a rainbow of vinyl and cut big polka dots to scatter randomly around the room.
I'm so thrilled with the results and the boys are too!


Tackling the outdoors with Ryobi
For the first five years of our marriage, Nicholas and I didn't have a yard - at least not one we had to maintain. So, when we left our 3rd floor walk up in D.C. for the landscaped wonderland of Paducah, we had some learning to do.
We also had a big but UGLY backyard (front yard is another story for another day). Seriously. This is what it looked like.
I received a free Ryobi 40V Blower from Ryobi and a trip to Ryobi headquarters in exchange for writing a review.
For the first five years of our marriage, Nicholas and I didn't have a yard - at least not one we had to maintain. So, when we left our 3rd floor walk up in D.C. for the landscaped wonderland of Paducah, we had some learning to do.
We also had a big but UGLY backyard (front yard is another story for another day). Seriously. This is what it looked like.
That, ladies and gentlemen, is a cinderblock planter. Eat your heart out.
I knew enough to know I needed help. One of our former neighbors in D.C. is a GENIUS landscape designer and she helped us design the most amazing concrete deck that worked with what we already had.
That's how we got to this!

Now we had an awesome deck (and no more cinderblock planter!) and a whole lot of mulch but not much else! For a couple of years, we attempted to landscape on our own without much success. A few ferns here. A hydrangea-I-almost-killed there. Not much else.
Then, an INSANELY generous family friend came and landscaped our yard WHILE WE WERE ON VACATION. Seriously, we left for the beach and it was like HGTV came while we were gone and transformed the entire space! If I'm being honest, I still really can't believe it.

Seriously! Have you ever?!?
As luck would have it, a few short weeks later I went to Chicago for BlogHer and met the delightful team from Ryobi. I was already familiar with the brand because I had seen their one-battery-fits-all display at Home Depot and had exclaimed OUT LOUD "That is awesome!"
I told them my story and told them I was inspired (and duty-bound!) to take good care of my new yard but I didn't really know where to start. They took pity on me and said they'd be in touch.
In March, they invited me to "Ryobi University" at their headquarters in South Carolina. For two whirlwind days, I joined a bunch of other bloggers in touring their headquarters (I even got to see my first 3D printer!) and learning all about their products. Newsflash: Playing with power tools is fun!

I really fell in love with the 40V line because you know what? If 18V is good, 40V is better! When Ryobi asked which tool we wanted to try out first, we went with the 40V blower and here's why.
The first lesson I've learned in yard maintenance is THE TREES ARE AGAINST US and we have A LOT of them. We have trees that drop leaves in the spring, summer, fall, and winter.
Don't believe me? Take a gander at the magnolia circa last week.

GAH! See why we went with the blower!?!
And let me tell you. This beauty doesn't disappoint. It's got a serious power to clean up the yard but a variable speed trigger so I can slow it down to blow out the garage which collects leaves like they are Beanie Babies and it's 1997.
So, we're on our way. We can keep our beautifully landscaped beds clean and prevent our yard from being overrun with leaves.
Next up? Going beyond mowing...
How to paint wood veneer
Remember The Project to end all projects? Well, I haven't stopped working on it. I have stopped blogging about it because cleaning out my kids' rooms just wasn't that interesting and I'm currently bogged down in cleaning out my memorabilia (a PROJECT in and of itself...and a post for another time! Look forward to some posts about baby Sarah in the near future and GET. EXCITED.)
Meanwhile, as I work my way through my house room by room, I've also taken on some design projects I've wanted to tackle forever and just haven't. First, I tackled the wall in my kitchen. Next up? Our entertainment center.
This is what it looked like:

Big and dark and squat and sort of ugly. Inspired by all the painted dressers I saw on Pinterest, I thought I might go that route and started scouring thrift stores around town.
No luck.
Finally, at a furniture consignment store, I found a modern TV stand a little bit taller and MUCH prettier than the one I have now. Only one problem...it was espresso brown. Another dark TV stand. I wasn't going to do it.

The only solution was to paint it. I looked at a lot of spray paint tutorials online but decided I wasn't wiling to risk it and it wasn't going to give me the smooth finish I was looking for.
Instead, I (what we call in the South) "jerryrigged" the process and adapted it to my own (somewhat lazy) purposes.
First up, I sanded the heck out of it with a rotary sander. One of the best tips I got online was using tack cloth to take off all the sand residue and that stuff worked like a charm.

Next up, I took some notes from the spray painting idea and used a spray primer - Rust-Oleum Painter's Touch 2X Primer for anyone wanting to know. I probably should have gotten the coat more even but it worked really well otherwise.

Next up, I took some notes from the spray painting idea and used a spray primer - Rust-Oleum Painter's Touch 2X Primer for anyone wanting to know. I probably should have gotten the coat more even but it worked really well otherwise.

I was hoping to skip this final step but alas, it was not to be. I also painted on two coats ofMinwax Polycrylic Gloss Protective Finish and we were good to go! Because I'm lazy, I painted right over the metal hardware and then scraped it out with steel wool when I was finished!

I mean when I'm right, I'm right. How much better does that look!?!

Fill your walls with Minted
This post is sponsored by Minted.
Have you ever gotten a holiday card or birth announcement or wedding invitation so gorgeous you think to yourself, “I should frame this hang it on the wall!”
I have and I’ve noticed a pattern evolving. These beautiful paper products often come from Minted. So, imagine my excitement when I learned that Minted has entered the world of wall art.

Stained Glass by Very Special Devices
This post is sponsored by Minted.
Have you ever gotten a holiday card or birth announcement or wedding invitation so gorgeous you think to yourself, “I should frame this hang it on the wall!”
I have and I’ve noticed a pattern evolving. These beautiful paper products often come from Minted. So, imagine my excitement when I learned that Minted has entered the world of wall art.
Considering Minted’s unique crowd-sourcing approach to design, wall art is a wonderful addition to their product line. Now, independent artists create not only invitations and announcements but one-of-a-kind illustrations or photographs or designs that can then be printed on archival paper in a variety of sizes just for you.
With over 300 designs, there is a print for every room. Whimsical illustrations for the nursery. Sophisticated drawings for the bedroom. Or great graphics for the living room. If you’re looking for a wedding present for the newlyweds or a beautiful mother’s day gift, there’s the perfect print for that as well.


As is Minted’s way, they leave not a detail to chance. The color of the print not right for your room? Many of the prints have customizable color choices, like this lovely “Rooftops” print by Dozi that comes in three combinations.
Or what about framing? No one wants to pay for the print and then sell a kidney for the cost of custom framing. Not to worry, Minted provides several affordable frame options. And we’re not talking just your classic black, white, and natural. How about a reclaimed barn wood frame? Or distressed indigo stain?
Whatever your preference, it's time to fill your walls - and not just your mailbox - with the beautiful designs of the Minted community.
I'd like to thank Minted for sponsoring this post . While I was given product in exchange for this opportunity, all opinions are 100% my own.
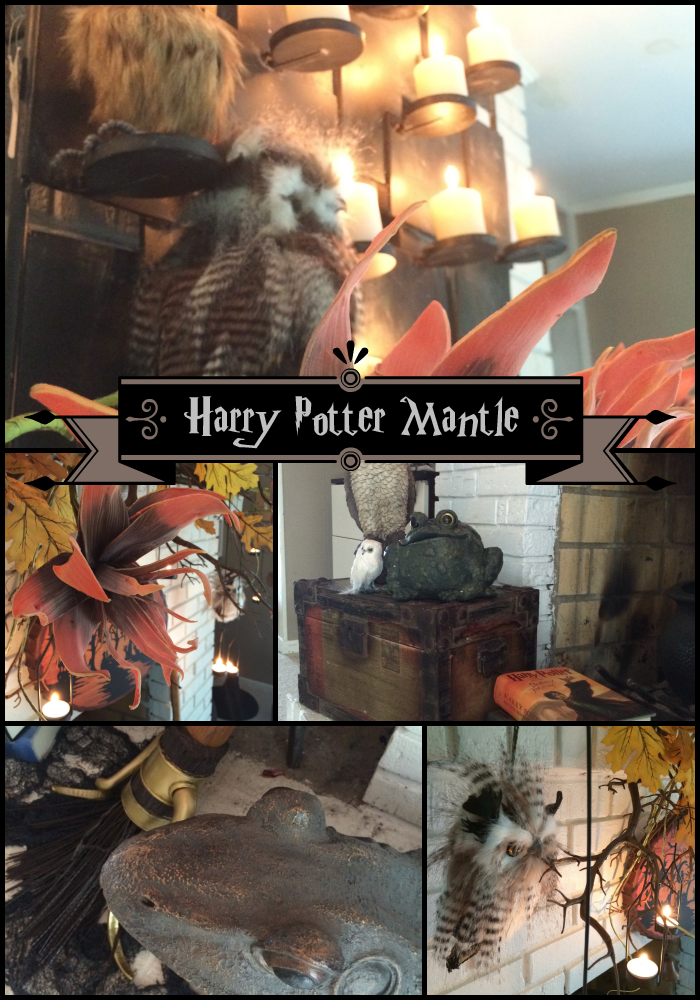
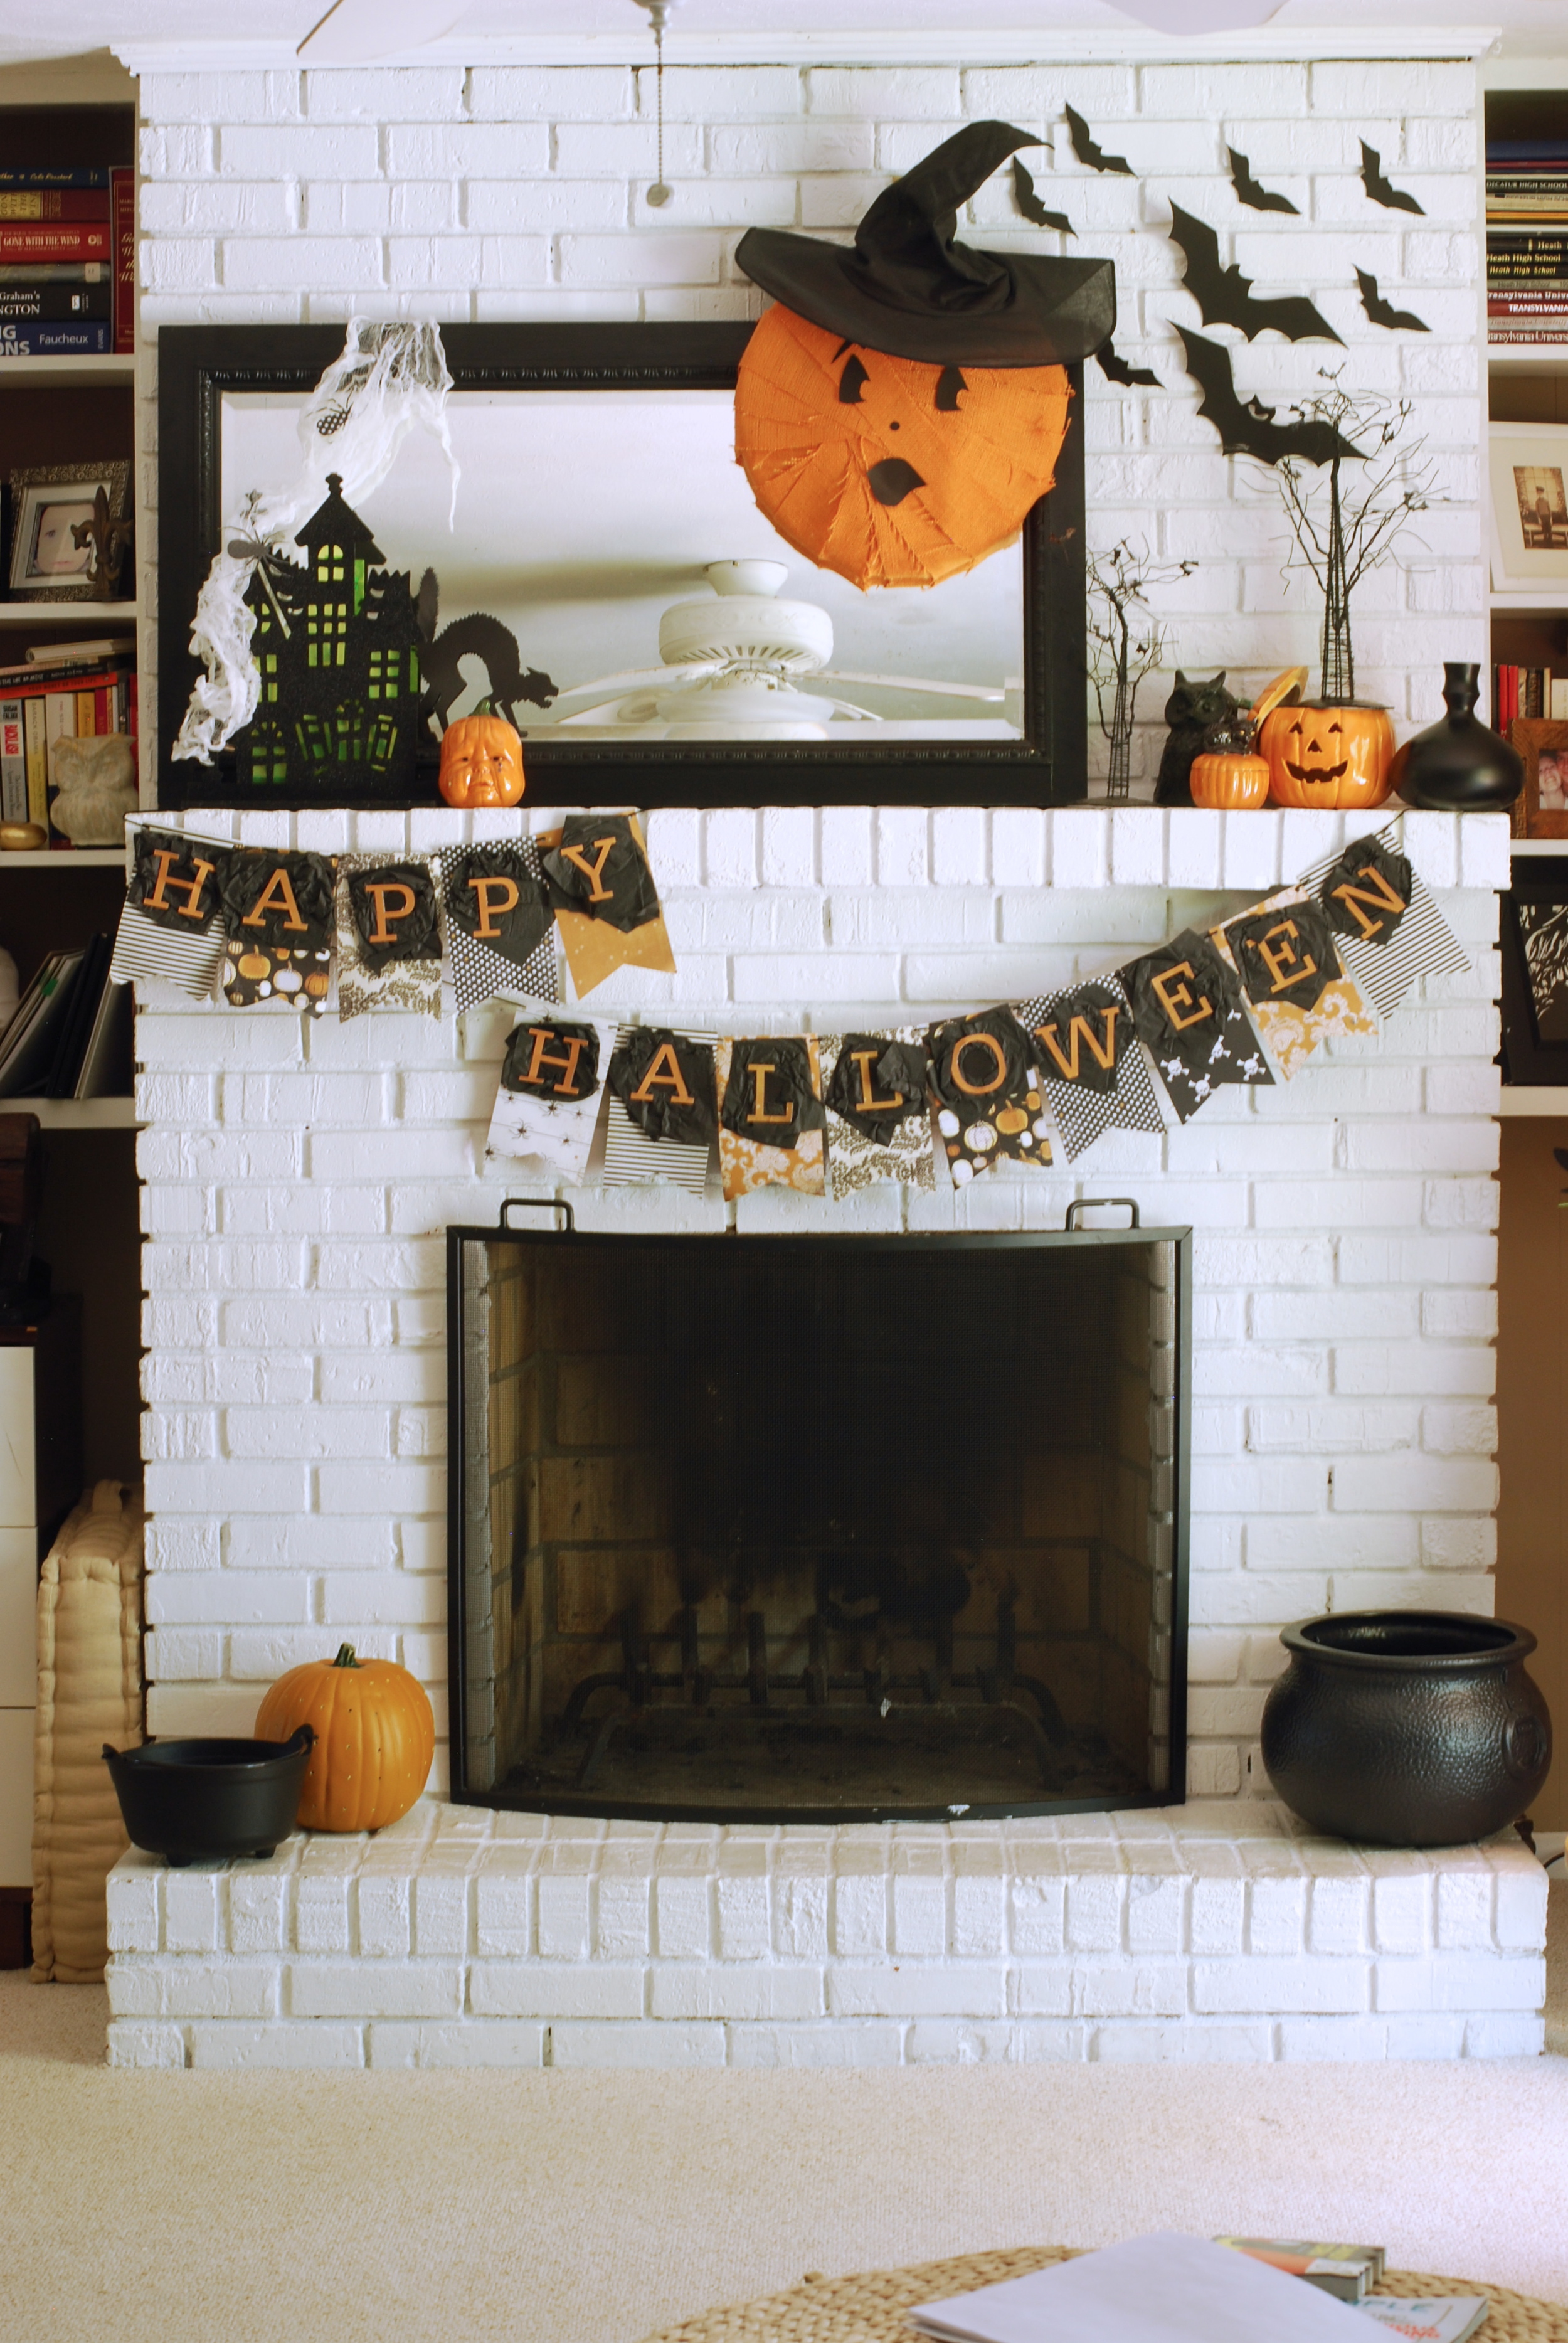
Black and Orange Halloween Mantle
Happy Halloween! I love decorating my mantle for Halloween every year. I've collected a fair amount of decorations and handmade decor over the years and I put it all together a little differently every year.

Happy Halloween! I love decorating my mantle for Halloween every year. I've collected a fair amount of decorations and handmade decor over the years and I put it all together a little differently every year.
This banner I made our first year in the house using a free download from Carina Gardner.

My pumpkin face was made from a tutorial from parents.com. This year he got a hat to add a little flair. The bats were cut on my Silhouette and were a new addition.

Add in a few ceramics I painted as a child and VOILA!


My Ever-Changing Living Room

I just redesigned my living room…for the fifth time…in four years.
On the same day, I switched around furniture in Griffin’s room, Amos’s room, and my den. Oh, I also just completely redid my bedroom.
I can’t help myself. I am a creature of change. In many ways I’m still the little girl who would rearrange the furniture in Barbie’s dream house three times before lunch.
For some people, a living space is static. My mother is like that. She tackles a major renovation every ten years but then that’s that. Everything stays the same until another decade passes. I think my constant redos and updates stress her out but I can’t help it.

Some of the change is because our family is constantly changing and our living space must reflect that. I needed space for a baby swing. Now, I need space for coloring. I needed a nursery. Now, I need a big boys’ room. Hopefully, I’ll need a nursery again before it’s all over and then there will be more change.
The living room redo came about because I wanted a space to truly escape from my work. My desk is in the middle of our den and kitchen so if we spend all evening in the den I feel like I never escape work. In fact, I sometimes spend all evening at my desk. Now, with the addition of some of our more casual furniture, the living room has become a place to relax at the end of the day.
The best part is my “new” living room cost me zero dollars. When I say I renovate rooms, I’m not talking about custom drapery or new furniture. I’m talking about using what I already have and a lot of creative energy. My “new” living room contains a free couch a friend was getting rid of, a chair passed down from my mom, a new chair that was a gift from a friend, and a family heirloom. Two of my girlfriends came over one rainy Friday and we re-arranged and re-arranged and re-arranged until the room finally made sense.
I absolutely love it… for now.
Is your home constantly changing? Or do you like things to stay the same?
A Glamourous Master Bedroom
When we moved in four years ago, my focus was on the nursery. I was seven months pregnant with my first child and I wanted to create the perfect space for him. So, I poured all my time and energy into his room. Slowly, I moved my attention to the other rooms in our home. I redid our den and designed another nursery.
I wouldn't say our bedroom was an after thought but it certainly wasn't high on my list and my lack of effort shows.
When my dear friend (and genius) Sara Falder of Flower + Furbish began helping me redesign my space, I knew the bedroom is where I wanted to start. Over a week (the week before my renewal!!!), we transformed the blah space you see above into a glamourous retreat!


Most of the transformation is thanks to Annie Sloan Chalk Paint®. We painted the walls and my hope chest in Paris Gray and then hung Tempaper in Diamond Taupe. (If you live in Paducah, you can get both at Flower + Furbish!)
We reupholstered my headboard with curtains from Ikea and transformed Rast side tables with Chalk Paint®, new hardware, and gold spray paint.
Most of the accessories were from around my house. Add in a new bedspread from TJ Maxx and curtains from JC Penney (seriously, have you been in there recently?!?) and the room was complete.
What do you think?!?

My podcasts


Subscribe to my weekly email


- August 2017
- March 2017
- January 2017
- November 2016
- October 2016
- September 2016
- August 2016
- June 2016
- May 2016
- April 2016
- March 2016
- February 2016
- January 2016
- December 2015
- November 2015
- October 2015
- September 2015
- August 2015
- July 2015
- June 2015
- May 2015
- April 2015
- March 2015
- February 2015
- January 2015
- December 2014
- November 2014
- October 2014
- September 2014
- August 2014
- July 2014
- June 2014
- May 2014
- April 2014
- March 2014
- February 2014
- January 2014
- December 2013
- November 2013
- October 2013
- September 2013
- August 2013
- July 2013
- June 2013
- May 2013